As cities across Ontario continue to face housing shortages and rising home prices, more homeowners are exploring Accessory Dwelling Units (ADUs)—also known as garden suites, coach houses, and secondary suites.
These small, self-contained homes offer extra living space, rental income, or a comfortable place for family to live close by.
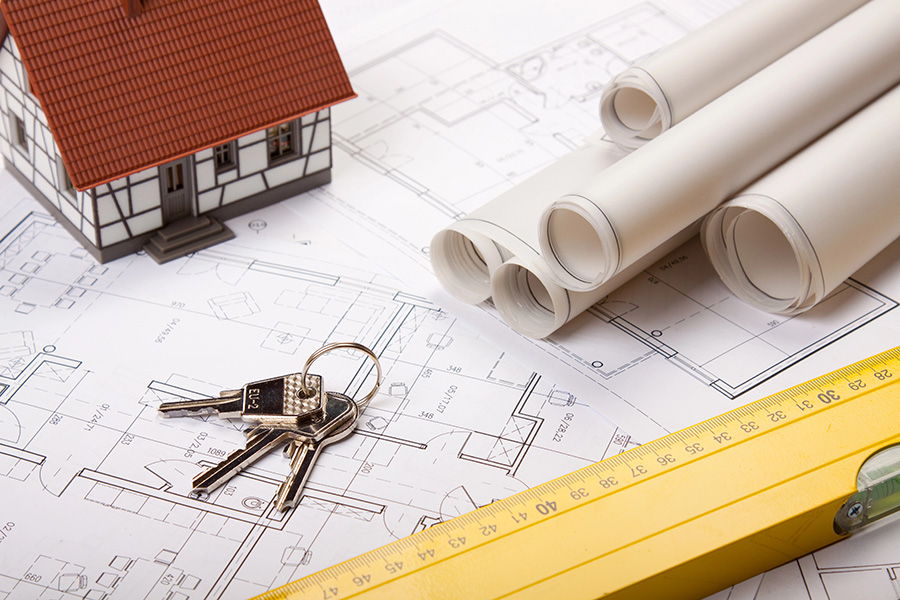
If you’re thinking about building an ADU, here’s a clear, homeowner-friendly guide to the entire process.
Every successful ADU project starts with a conversation.
During the initial consultation, your builder will typically:
This is also the stage where you can ask questions about:
A good consultation sets expectations early and ensures you understand what’s possible before moving to design.
Once the project moves forward, the next stage is design and architectural planning.
Design includes:
Depending on your municipality and build type, engineering may include:
⟩ Structural engineering
⟩ Grading and drainage plans
⟩ HVAC and mechanical design
⟩ Energy efficiency calculations
At this stage, you’ll choose:
⟩ Finishes
⟩ Exterior materials
⟩ Window styles
⟩ Layout preferences
⟩ Accessibility options (wider doors, ramps, walk-in showers, etc.)
A well-designed ADU balances comfort, function, privacy, and long-term durability.
Permitting is often the most misunderstood part of building an ADU, but it’s essential to get right.
Typical permits and documents include:
Your builder or designer will prepare and submit the full package, including:
Approval times vary, but most municipalities take 4–10 weeks, depending on workload and complexity.
Once permits are approved, construction can begin.
With permits in hand, the physical build starts.
Construction generally follows these phases:
⟩ Excavation (often required for foundations and servicing trenching)
⟩ Grading adjustments
⟩ Access preparation for equipment
Options include:
⟩ Slab-on-grade
⟩ Crawlspace
⟩ Full basement
⟩ Helical piles (for certain designs)
The unit takes shape with:
⟩ Floors
⟩ Walls
⟩ Roof structure
Essential systems are installed:
⟩ Plumbing
⟩ Electrical
⟩ HVAC
⟩ Sewer connections
⟩ Water and hydro trenching (if needed)
Energy-efficient insulation is installed, followed by drywall boarding and taping.
This is where the ADU feels like a home:
⟩ Flooring
⟩ Trim and doors
⟩ Cabinets
⟩ Plumbing fixtures
⟩ Appliances
⟩ Painting
⟩ Siding
⟩ Roofing
⟩ Landscaping
⟩ Decks, patios, or walkways
Throughout this phase, your builder manages trades, inspections, quality control, and scheduling.
Inspections happen at several stages to ensure everything meets the Ontario Building Code.
Typical inspections include:
If anything needs adjustment, your builder will correct it promptly before re-inspection.
Once the final inspection is completed and the city approves the work, you receive occupancy clearance.
After approvals, it’s time to enjoy your new ADU.
Homeowners typically use ADUs for:
Your builder will provide a walkthrough to review:
This ensures you feel confident and comfortable in your new unit from day one.
Building an ADU in Ontario is one of the smartest ways to add usable space and long-term value to your property. The process—from consultation to move-in—is well-defined, and with the right builder, it’s smooth and predictable.